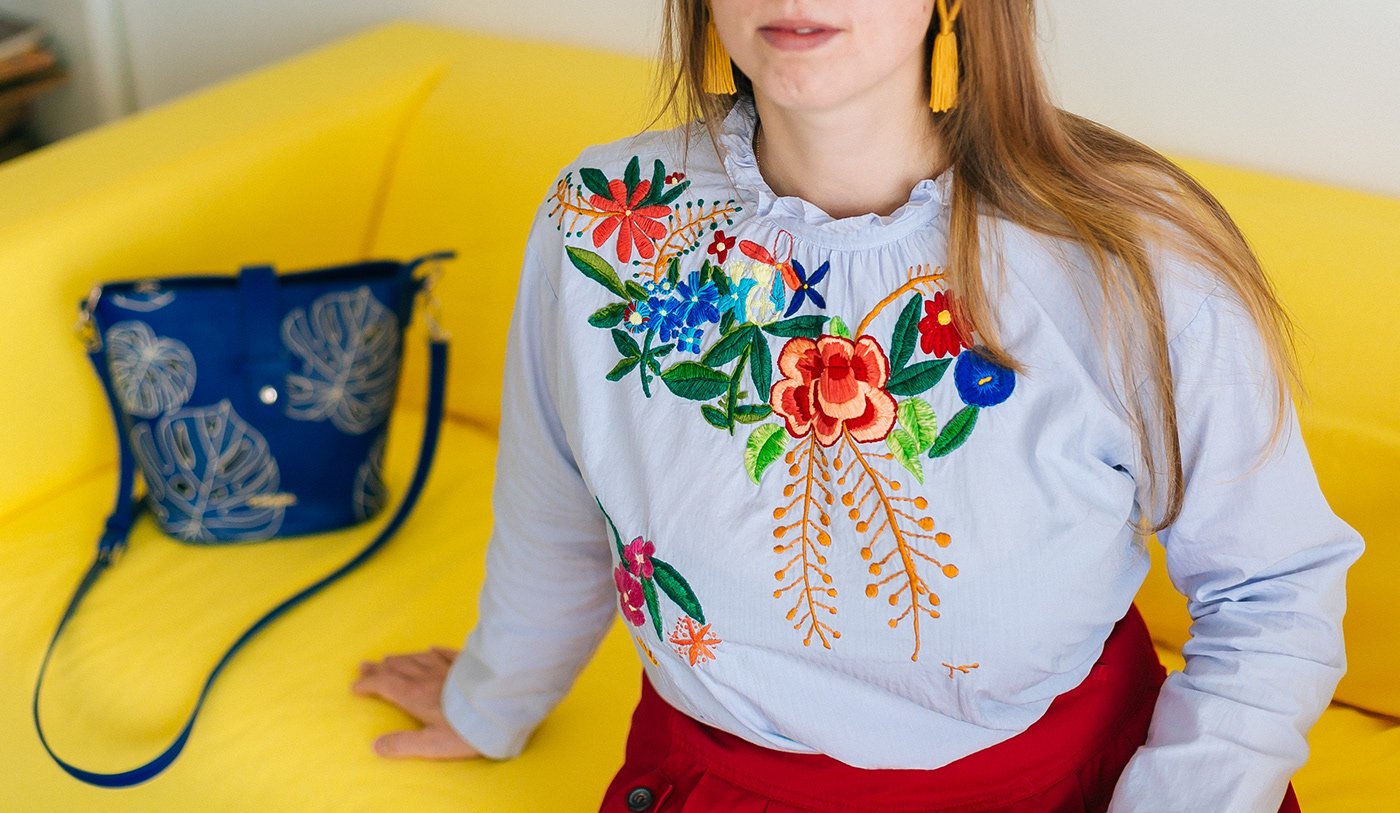
Embroidery is a popular and timeless technique for embellishing apparel with intricate designs, logos, or monograms. Whether you’re looking to add a personal touch to a garment or create professional uniforms, embroidery provides a durable and elegant finish that can last for years. With modern embroidery machines, performing embroidery near me on apparel has become easier and more accessible. This article will guide you through the step-by-step process of performing embroidery on apparel, from choosing the right design to finishing the final product.
Choosing the Right Design
The first step in embroidery is selecting or creating the design you want to stitch onto the fabric. Embroidery designs can range from simple text and logos to detailed, multi-colored artwork. There are two options for sourcing your design:
- Pre-made designs: Many embroidery machines come with built-in designs, or you can purchase pre-made embroidery patterns online.
- Custom designs: For a personalized touch, you can create your own design using embroidery software. This process, called digitizing, converts your artwork into a format that an embroidery machine can read and follow.
When selecting a design, keep in mind the size and placement on the garment, as well as the fabric type. Some fabrics, such as cotton and polyester, handle embroidery well, while delicate fabrics like silk may require more care.
Choosing the Right Equipment and Materials
To perform embroidery on apparel, you’ll need the following tools and materials:
- Embroidery machine: A machine designed for embroidery that can follow a digitized design to create your pattern. There are various types, from home-use machines to commercial-grade models.
- Hoop: This is used to stretch the fabric taut to prevent wrinkles or shifting while the machine stitches the design.
- Stabilizer: A stabilizer is placed under or on top of the fabric to keep the fabric from stretching or puckering during embroidery. There are different types of stabilizers—tear-away, cut-away, and water-soluble—depending on the fabric and design.
- Thread: High-quality embroidery thread in various colors that will bring your design to life. Rayon, polyester, and cotton threads are the most commonly used.
- Needles: Special embroidery needles are designed to handle the demands of stitching intricate patterns without damaging the fabric.
- Scissors: For trimming threads after embroidery.
- Preparing the Fabric
Before you begin the embroidery process, you must prepare the fabric and ensure it’s ready to handle the stitching. The steps include:
- Pre-washing: Some fabrics may shrink after washing. It’s a good idea to pre-wash your apparel before embroidering to prevent any distortion of the design afterward.
- Ironing: Make sure the fabric is smooth and free of wrinkles. Iron it flat if necessary before hooping.
Once the fabric is prepared, choose the area where you want to place the design and mark it lightly with chalk or a fabric-safe marker. This will help with proper placement.
Hooping the Fabric
The next crucial step is to hoop the fabric. This step involves placing the fabric and stabilizer inside the embroidery hoop, which holds everything taut while the embroidery machine works. Proper hooping ensures that the fabric doesn’t shift during stitching, which is essential for precise embroidery.
To hoop your fabric:
- Lay the stabilizer underneath the fabric.
- Position the fabric on top of the inner hoop and place the outer hoop over it.
- Tighten the hoop, ensuring that the fabric is stretched but not distorted.
- Check the alignment to make sure the design will be placed exactly where you want it.
If you’re working with delicate fabrics, a water-soluble stabilizer can be placed on top of the fabric to prevent the embroidery from sinking into the material.
Setting Up the Embroidery Machine
Once your fabric is hooped and ready, you can set up the embroidery machine. Follow these steps:
- Load the design: If you’re using a pre-made or custom design, transfer it to the embroidery machine via USB, memory card, or the machine’s internal memory.
- Thread the machine: Follow the machine’s instructions to load the appropriate thread colors into the needle and bobbin.
- Position the hoop: Attach the hoop to the embroidery machine and position it so the machine will stitch in the correct area.
At this stage, ensure that the machine settings, including stitch density and speed, are suitable for the fabric and design.
Embroidering the Design
With everything set up, you can start the embroidery process. The machine will follow the digitized design and stitch the pattern onto the fabric. During this time, monitor the machine to ensure that the fabric stays in place and that the thread doesn’t break or run out.
If your design has multiple colors, the machine will stop for a thread change. Simply rethread the machine with the new color and continue stitching.
Finishing the Embroidery
Once the embroidery is complete, carefully remove the hoop from the machine and unhoop the fabric. Depending on the type of stabilizer used, you may need to remove it from the fabric. Here’s how:
- For cut-away stabilizers, use small scissors to trim the stabilizer close to the design without cutting the fabric.
- For water-soluble stabilizers, rinse the fabric in water to dissolve the stabilizer.
After removing the stabilizer, inspect the embroidery for any loose threads and trim them using sharp scissors.
Final Steps
To finish the embroidered apparel:
- Press: Place a pressing cloth over the embroidery and lightly iron the fabric to remove any hoop marks and wrinkles.
- Check the design: Ensure that the design is secure, properly aligned, and free of mistakes.
Conclusion
Embroidery on apparel is a rewarding and creative process that adds a high-quality, professional touch to garments. By following these steps—selecting a design, preparing the fabric, setting up the embroidery machine, and completing the stitching—you can create beautiful, durable, and personalized embroidered apparel. Whether for personal use or business, embroidery offers a sophisticated way to enhance any piece of clothing.